DREAMS ARE NOT FOAM!
THE PERSONAL DREAM DIARY FOR THE PERFECT SLEEP
It was already known in ancient times that dreams are much more than a “remix” of our everyday experiences. There were dream interpreters there who assigned meanings in “real life” to symbols in dream experiences. As ancestors of psychoanalysis, they tried to interpret the subconscious in this way. Even today, dream diaries are important for our psychological hygiene and should have a place on our nightstand - after all, some dreams are too beautiful or upsetting to be forgotten!
After all, we spend a quarter of our lives sleeping and what happens there has an impact on our everyday lives. In contrast to the waking state, our entire brain is active when dreaming, as research has shown. Emotions are stronger, subconscious fears come to the surface or our most secret desires and fantasies come to light.
In contrast to the physical world, the realm of dreams has no boundaries and holds new insights for us, as the Finnish neuroscientist Antti Revonsuo put it. Why should we remember this? The actress Christine Mylius kept a dream diary throughout her life, which was later examined by the University of Freiburg. The connection between her dreams and things that later happened to her were amazing. Another example of this is Sigmund Freud.
He owed the idea of psychoanalysis to a dream he had as a teenager in the Vienna Woods in 1895. And what happened to it? A world revolution. Who knows what YOU will “dream” next on your QUQON mattress?
AND THIS IS WHAT YOU NEED:
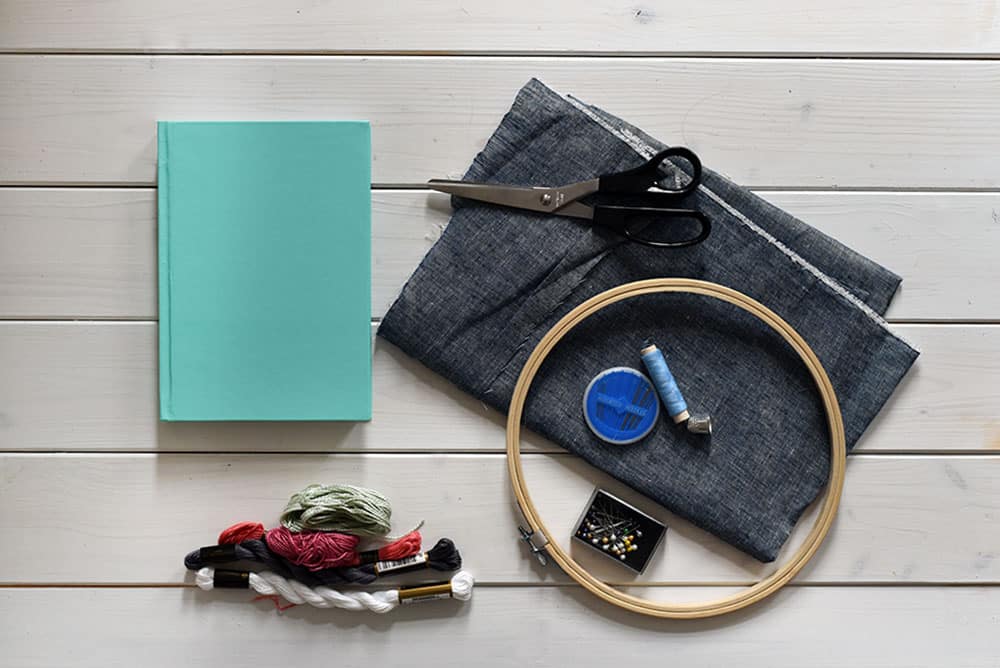
- Notebook
- solid material
- Sewing kit
- a sewing machine (if you have it available)
- Stickgarn
- Cloud template for embroidery
- sharp scissors
- if necessary: embroidery frame
- Pins
1. Spread out the fabric on a table and place the notebook on it.
2. Take pins and use them to mark the important corners: the front and back as well as the distance from the spine of the book. Pin them double because you don't want them to fall out while sewing and are our guide for the correct distances.
3. On the two broadsides, where the book covers are
to be hammered in, keep a generous distance of approx. 4-5 cm.
4. Cut out the fabric with a seam allowance of approx. 1 cm.
5. The fabric is now folded in exactly in line along the top and sewn shut. This means that the book should line up with the material at the top and bottom. Make sure to leave a few millimeters of space so that the flaps for the book cover can then be sewn.
6. And now it's starting! Take the sewing machine or sew the hem by hand. When you're done all around, it's now time for the tabs.
7. Place the book back on the fabric, fold over the excess fabric and sew it in place at the top and bottom with a few stitches. Make sure they are well sewn at the end.
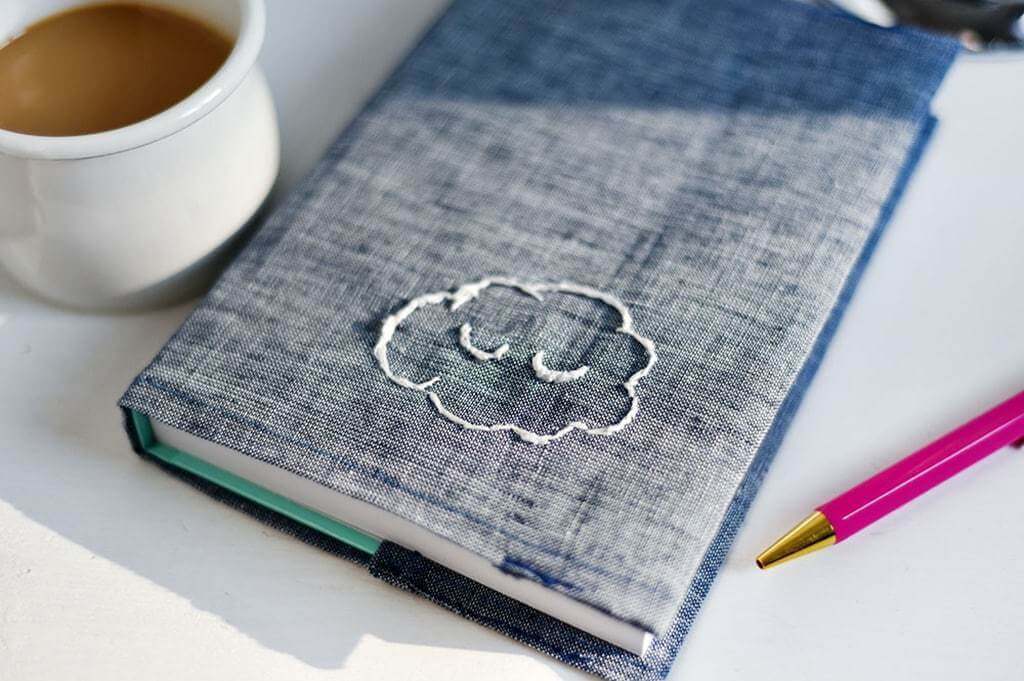
8. When the envelope is finished, start embroidering. You can choose the cute QUQON cloud or you can embroider something completely different. Such as your initials or another motif.
9. Once you have decided on the QUQON cloud, print it out, place it on the paper and pin it in place. Now you can start embroidering all around. To do this, choose a back stick to create a strong line. You can play with the thread a little more and try out different techniques to create a fluffy cloud.
10. Finally, sew the eyelids. You can embroider directly through the template. Then carefully remove the paper. You can also easily push away crumbs with the tip of the needle.
So!
If you have problems inserting the notebook: fold the two book covers back (so that the pages are on one side and the book covers are on the other side) and you can change or wash your cover!
PS: A homemade dream journal is the perfect gift!


Share this post:
5 morning habits you should adopt